Lil’ bun and I have made swirled milk buns before like our matcha red bean swirl buns, fruit and nut swirl bread, red bean swirl bread, swirled banana bread and cinnamon buns but we have yet to make a bread with two dough flavors swirled together! For this adventurous endeavor we decided to go with using the classic “vanilla” and chocolate because you really can’t go wrong with those two flavors right? Making swirled milk buns really isn’t as complicated as it sounds, all you really do is make two types of dough and then roll them up together just as you would do with any other type of swirl buns except instead of having a spread or cinnamon sugar filling, you have a dough filling!
Ingredients (makes 10):
2 1/2 cups bread flour (we used multigrain)
2 teaspoons yeast
1/2 cup milk (or soy/coconut/almond milk)
1 egg (substitute by adding 2 tablespoons more milk/oil)
1/4 cup sugar
1/2 teaspoon salt
3 tablespoons coconut oil (or butter or oil)
Chocolate flavoring: 1 teaspoon cocoa + 1 teaspoon hot water
Tangzhong:
40 mL bread flour
1/2 cup water
Let’s get baking!
1. Make the tangzhong by putting the 40 mL bread flour and 1/2 cup water in a saucepan over medium heat. Whisk the tangzhong until it thickens and swirls form. Then remove from heat and stir it for another 30 seconds so it can thicken a little more.

2. In a measuring cup mix the yeast, warm milk and a sprinkle of sugar together; set aside until foamy. Then, put the sugar, salt, bread flour,and coconut oil in a large bowl.
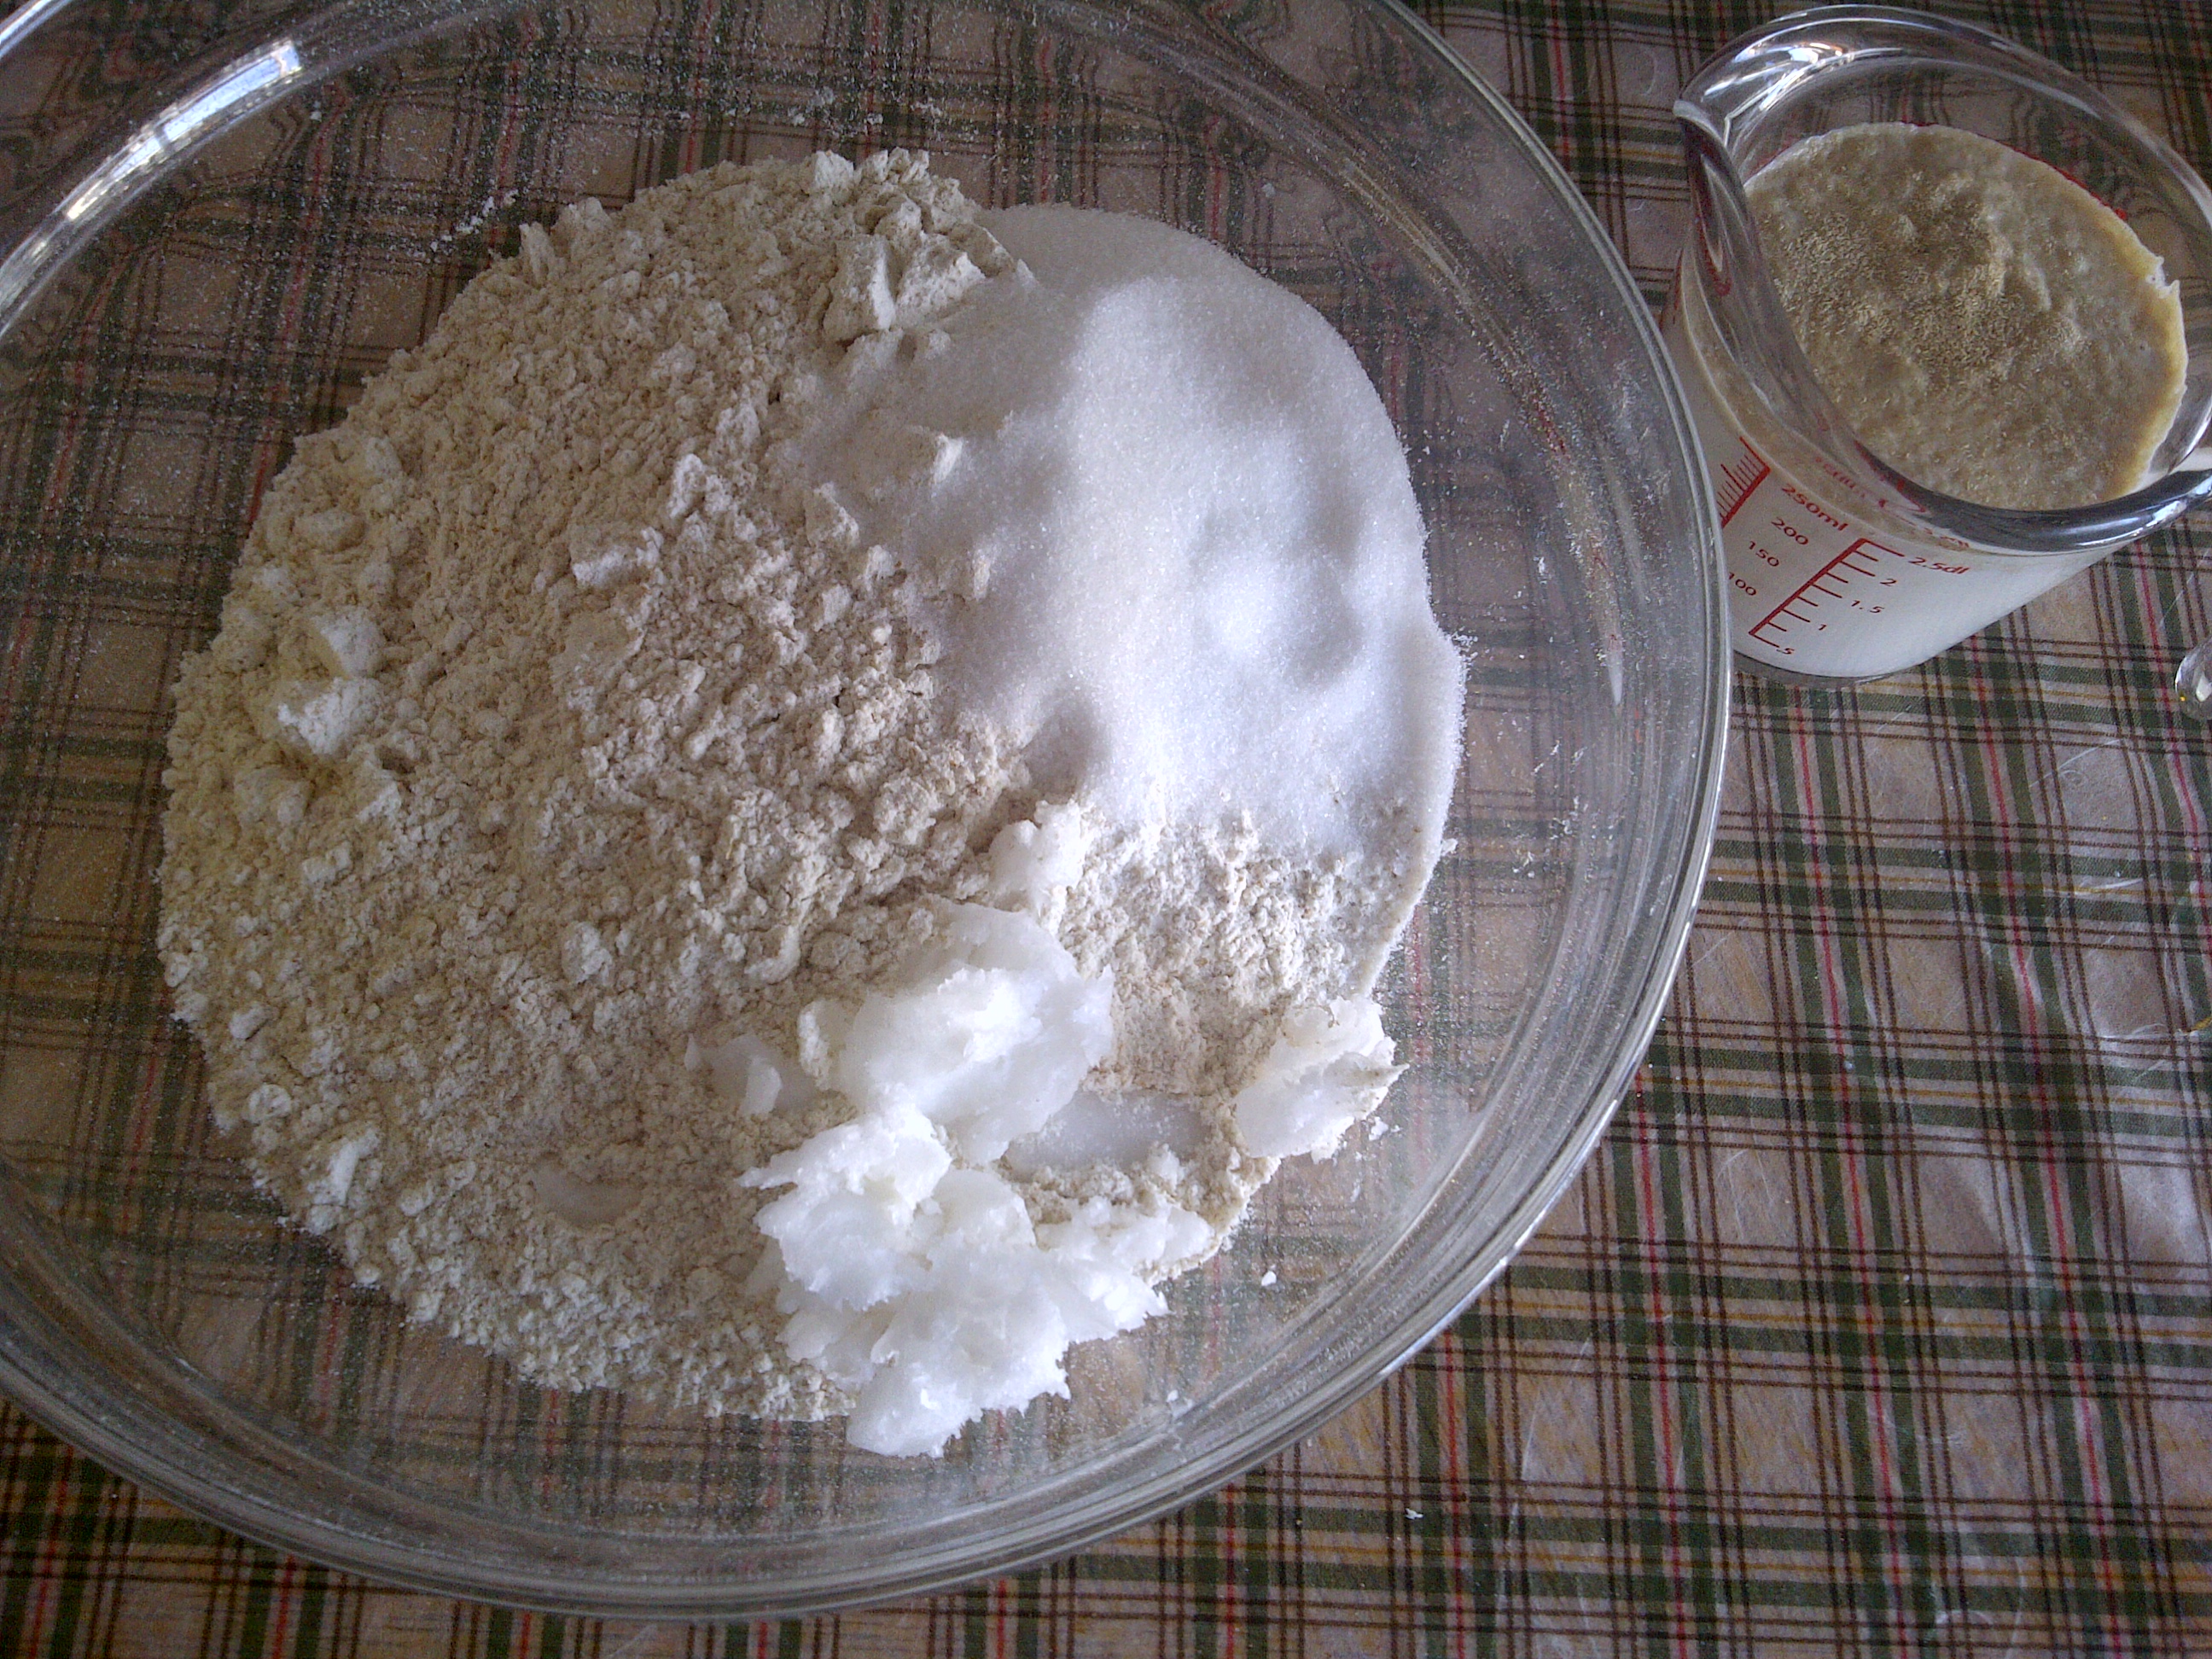
3. Whisk in an egg then our the milk mixture and the cooled tangzhong into the flour mixture.

4. Stir everything together to form a dough. If it still feels sticky you may need to add a bit more flour.

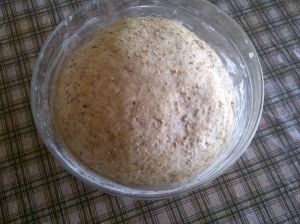
5. Knead the dough for 15 – 25 minutes until smooth and elastic and then let the dough rise in a warm place for 1 hour.
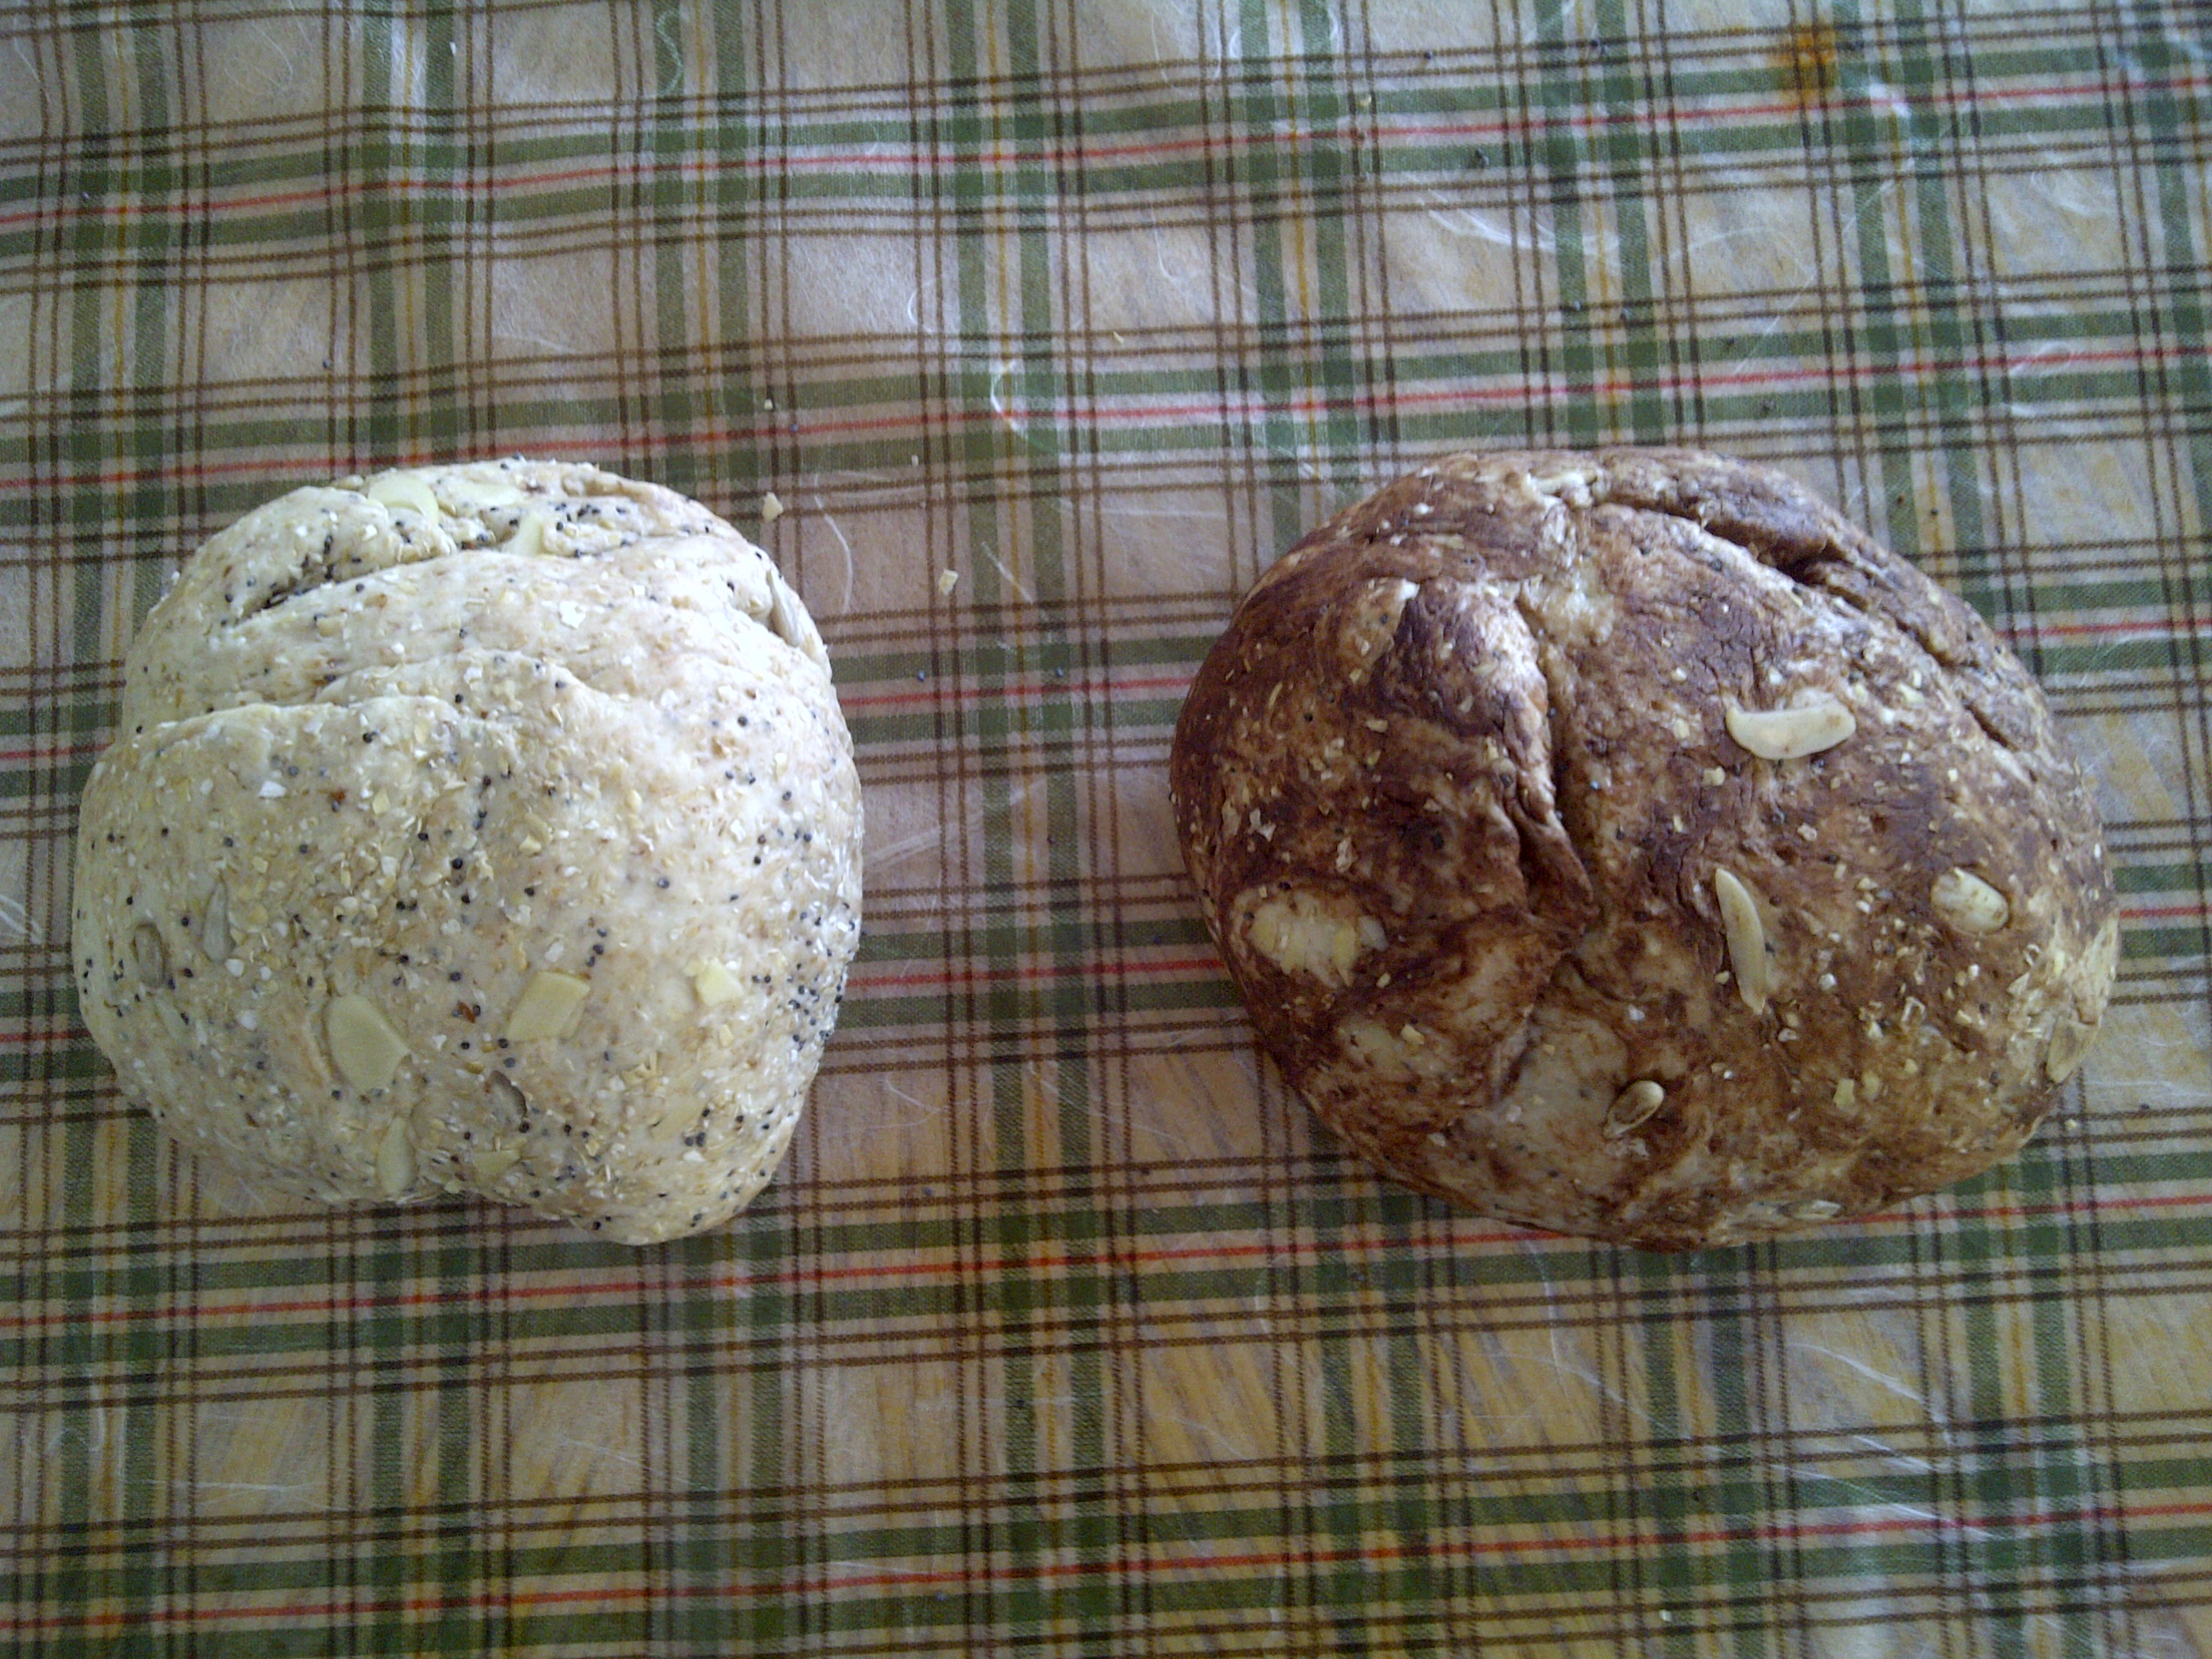
6. Take 1/2 of the now risen dough and knead the chocolate flavoring into it (1 teaspoon cocoa + 1 teaspoon hot water) until it becomes even in colour.
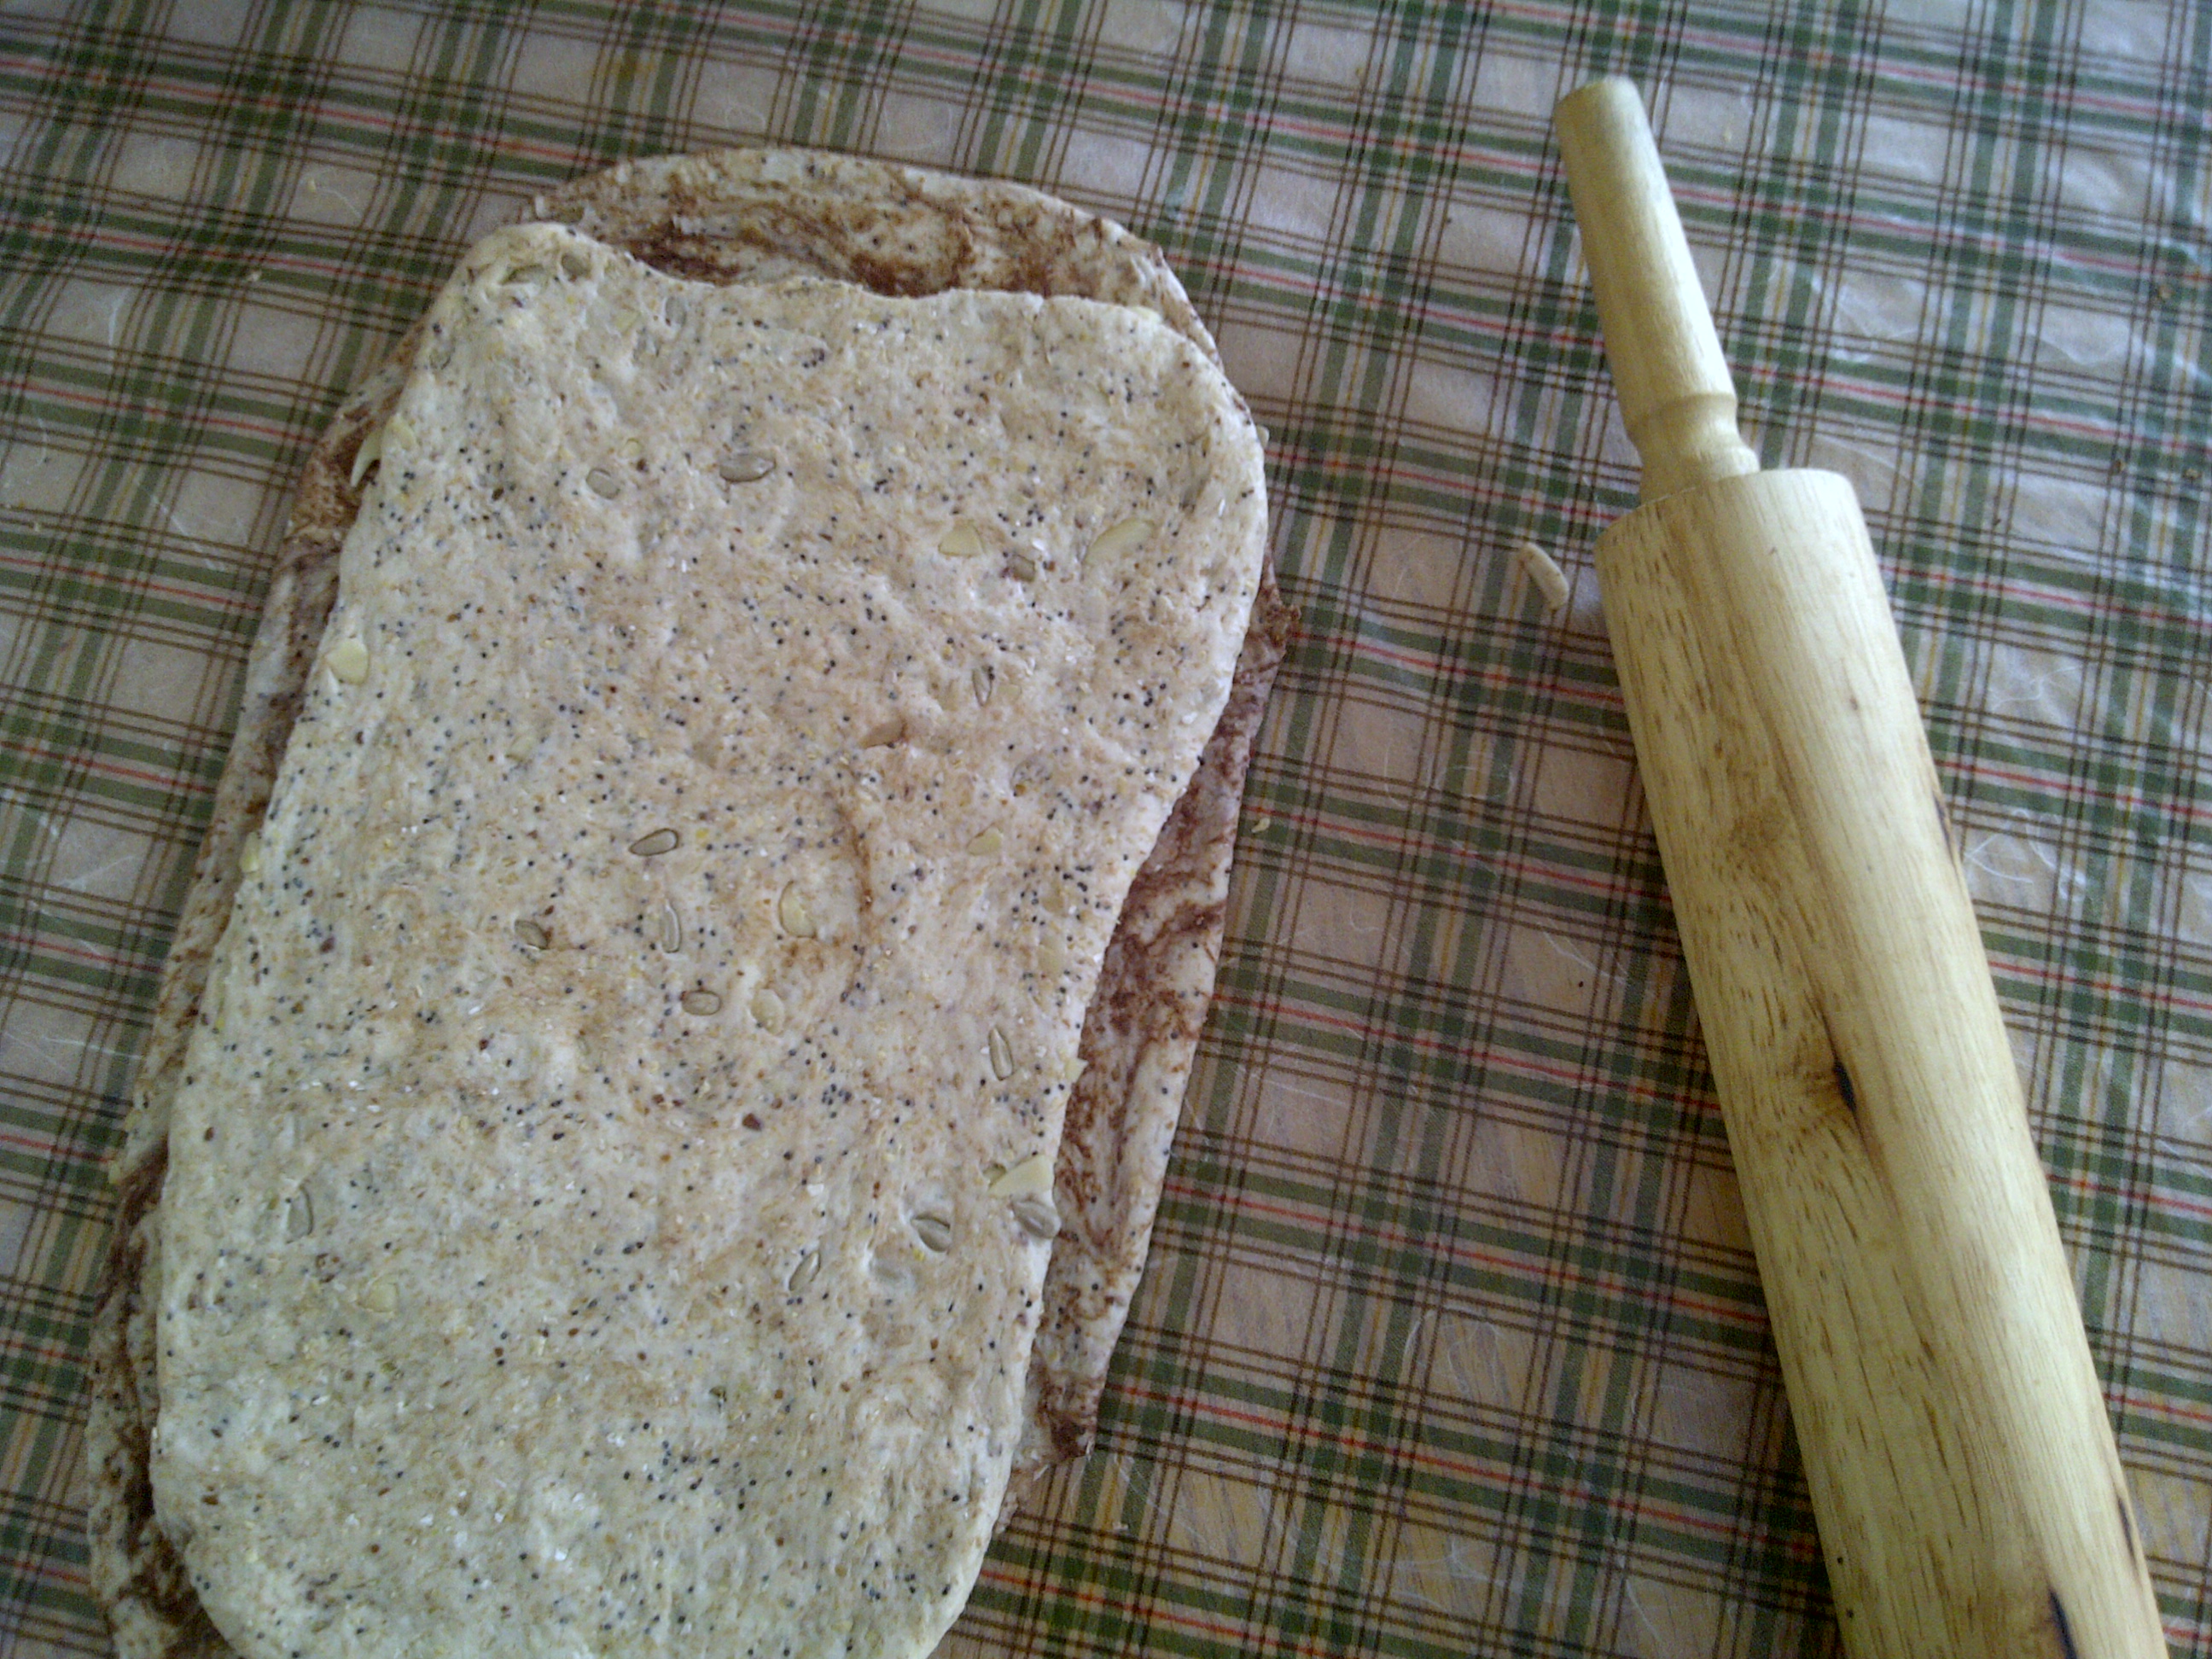
- Roll out the two doughs out into rectangles making sure that one rectangle is smaller than the other (the larger dough will be what goes on the outside).
8. Place your smaller rectangle on top of the larger one and roll the doughs up to form a 2″ high/thick log. Pinching the end seam to seal.
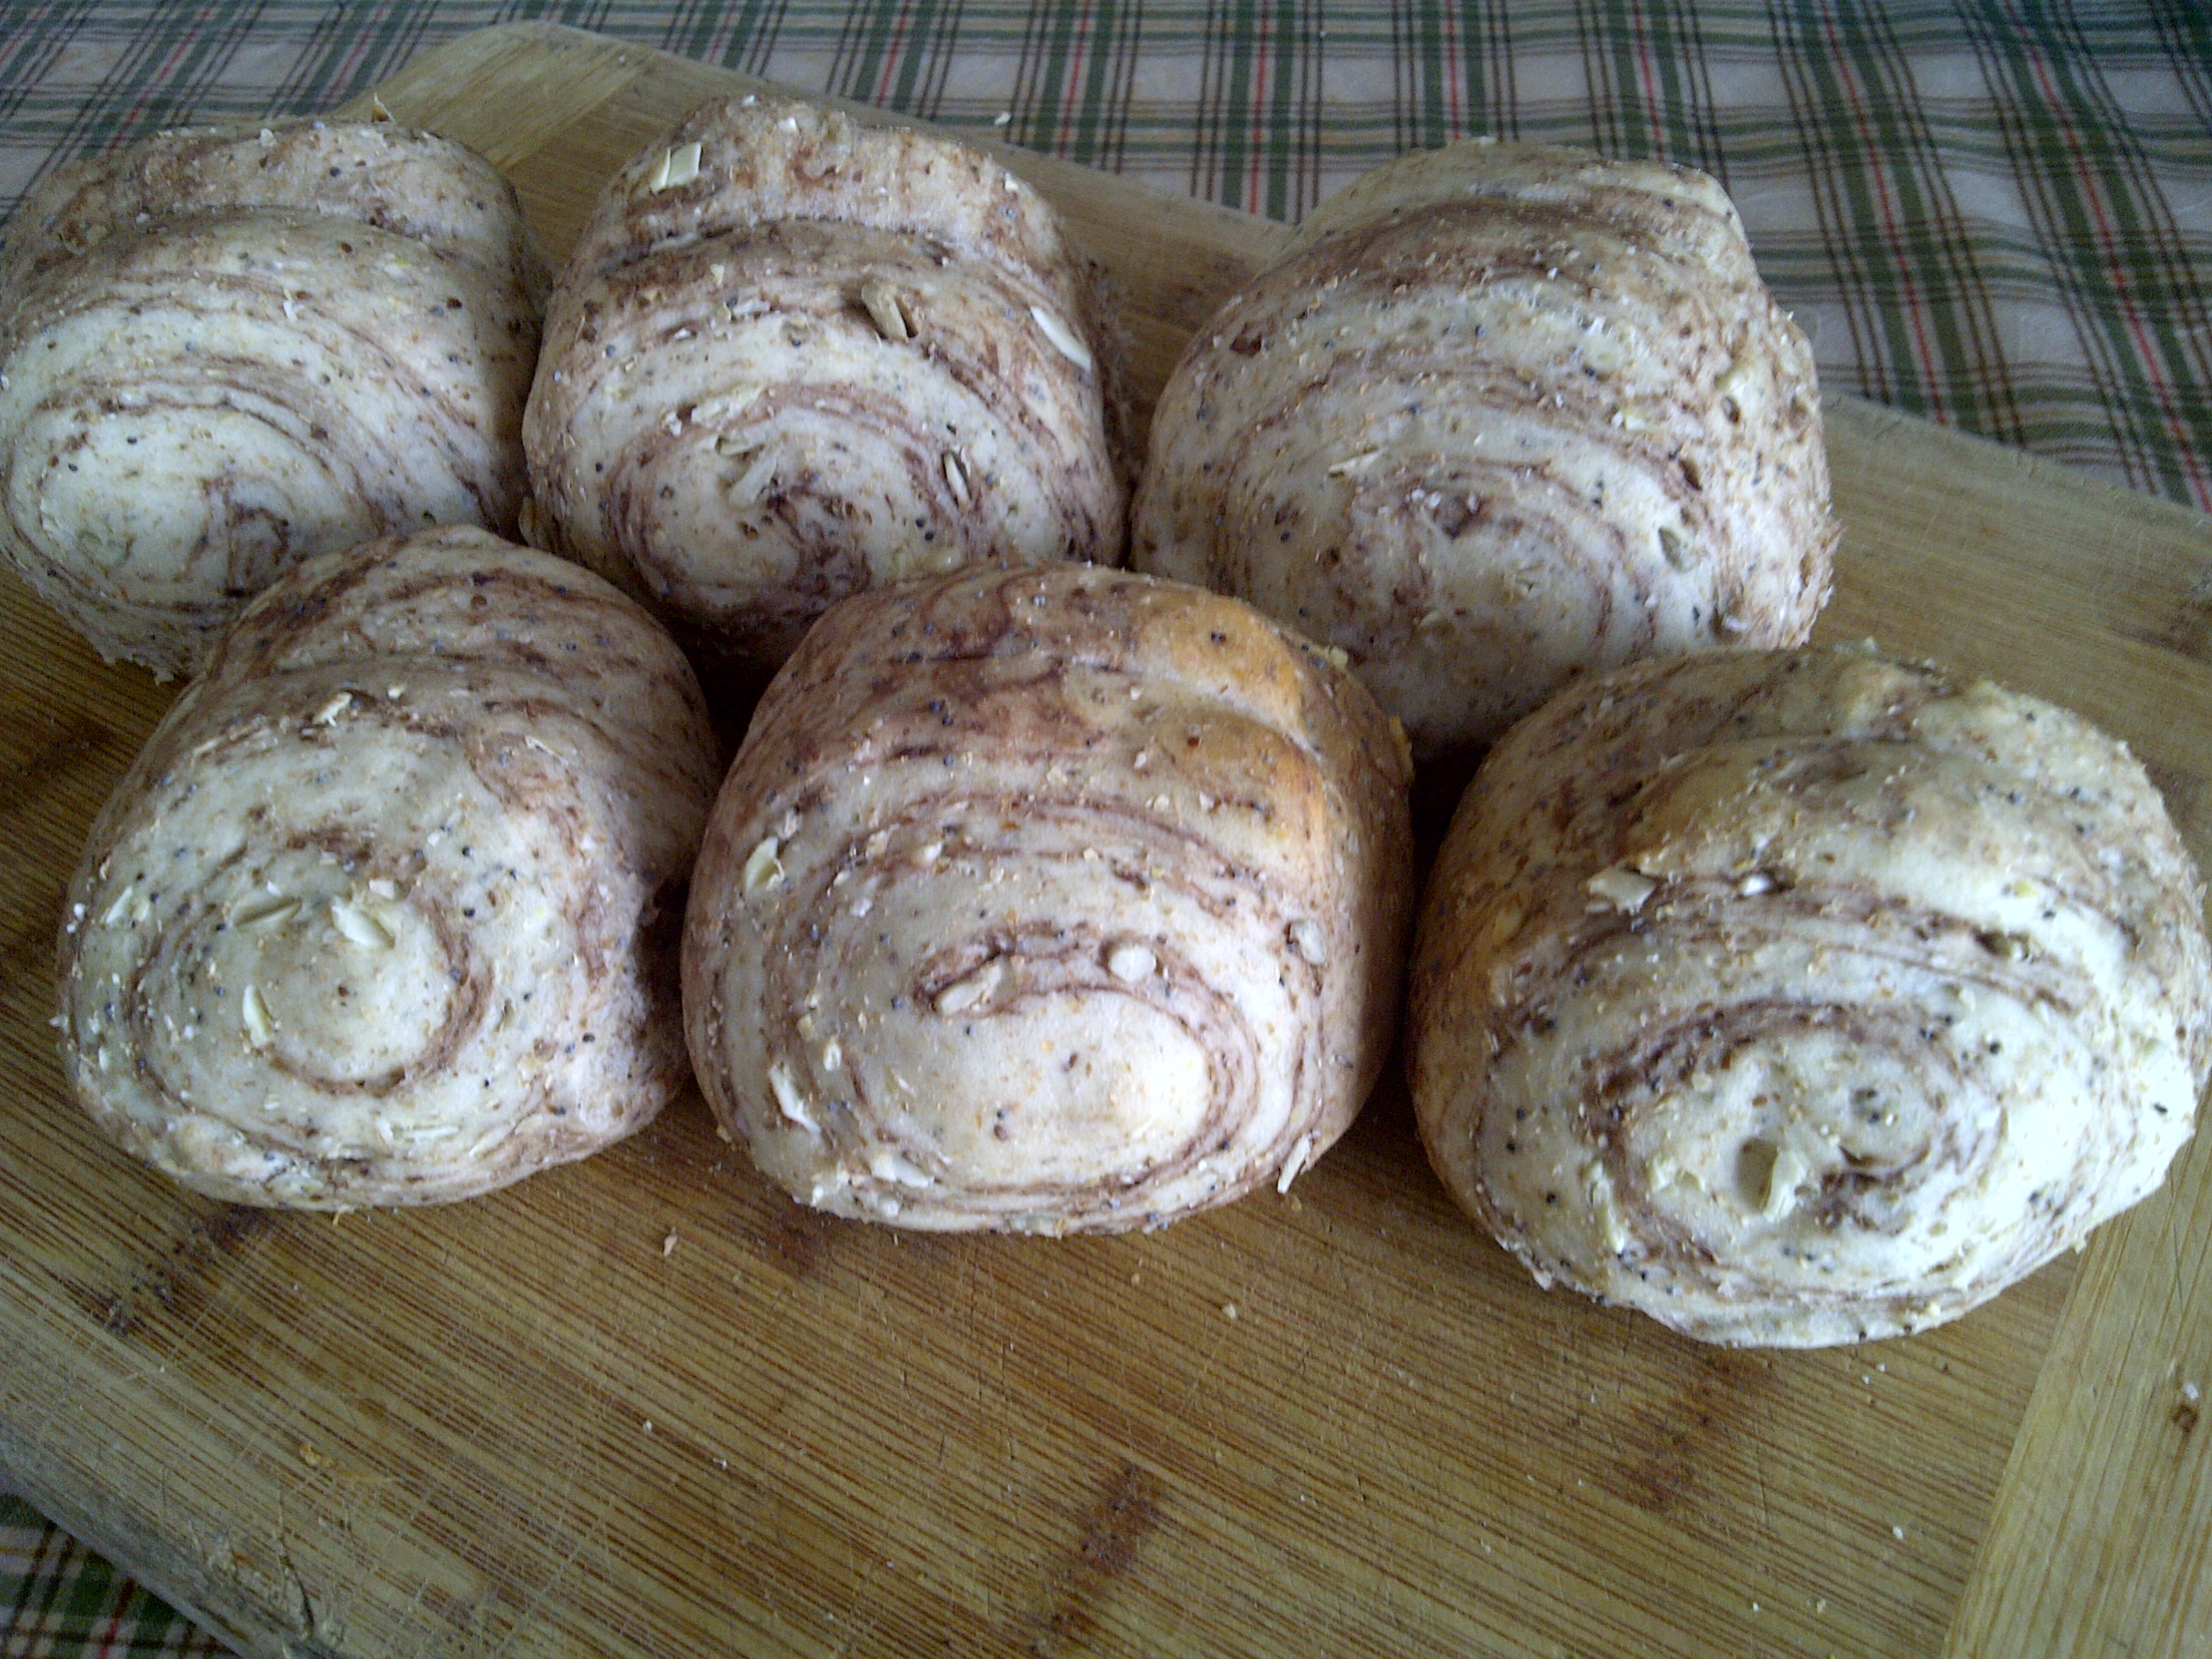
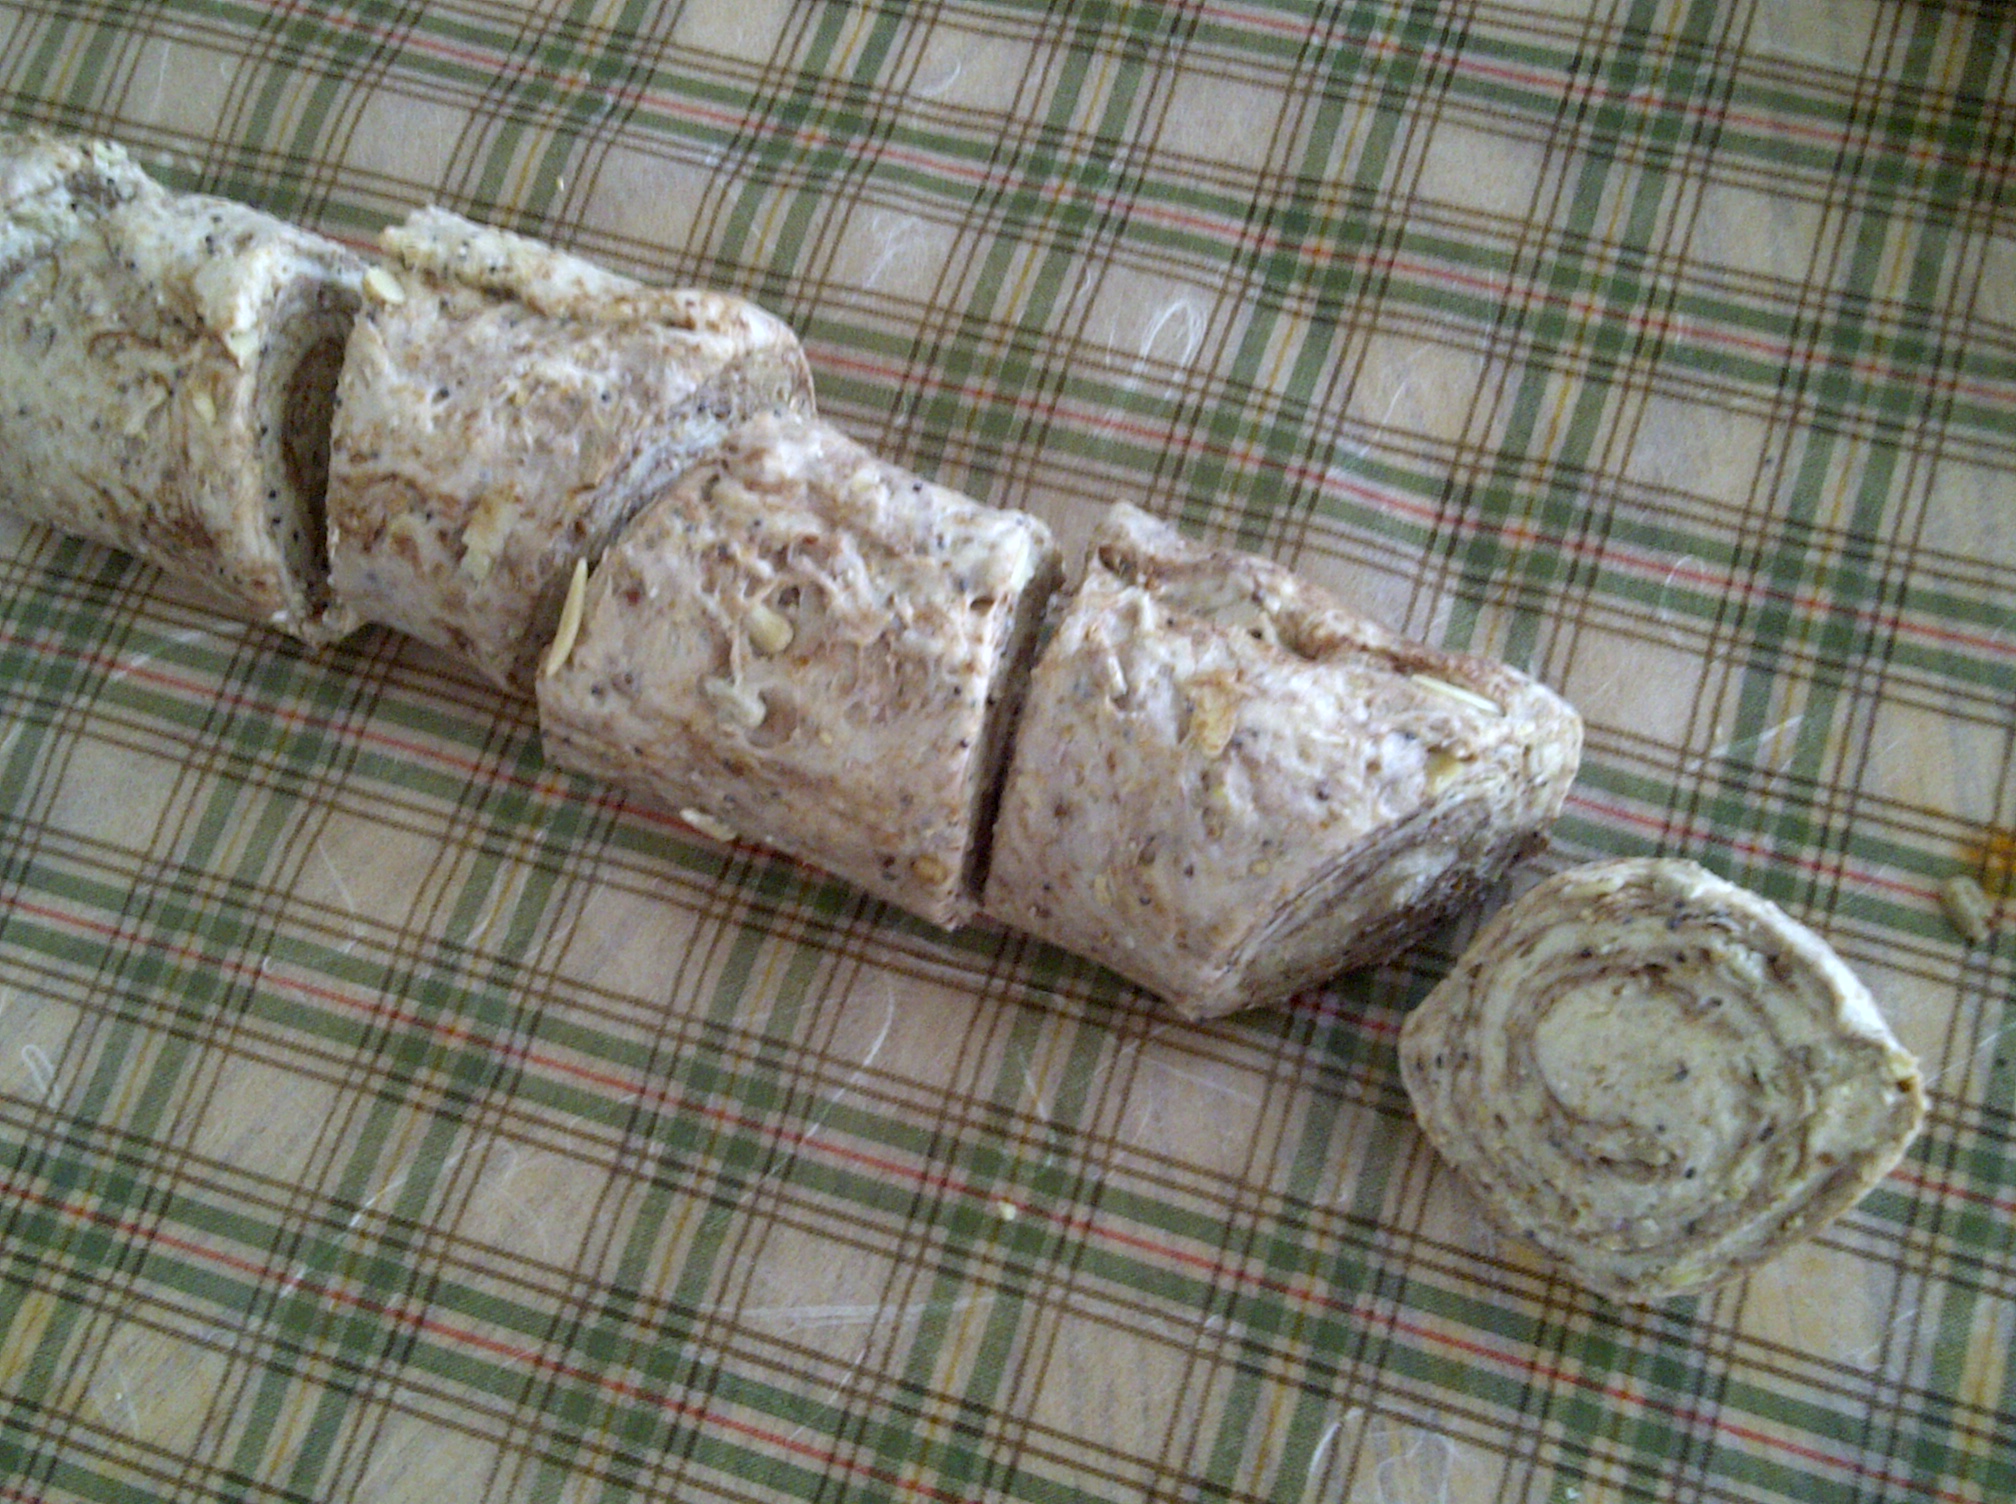
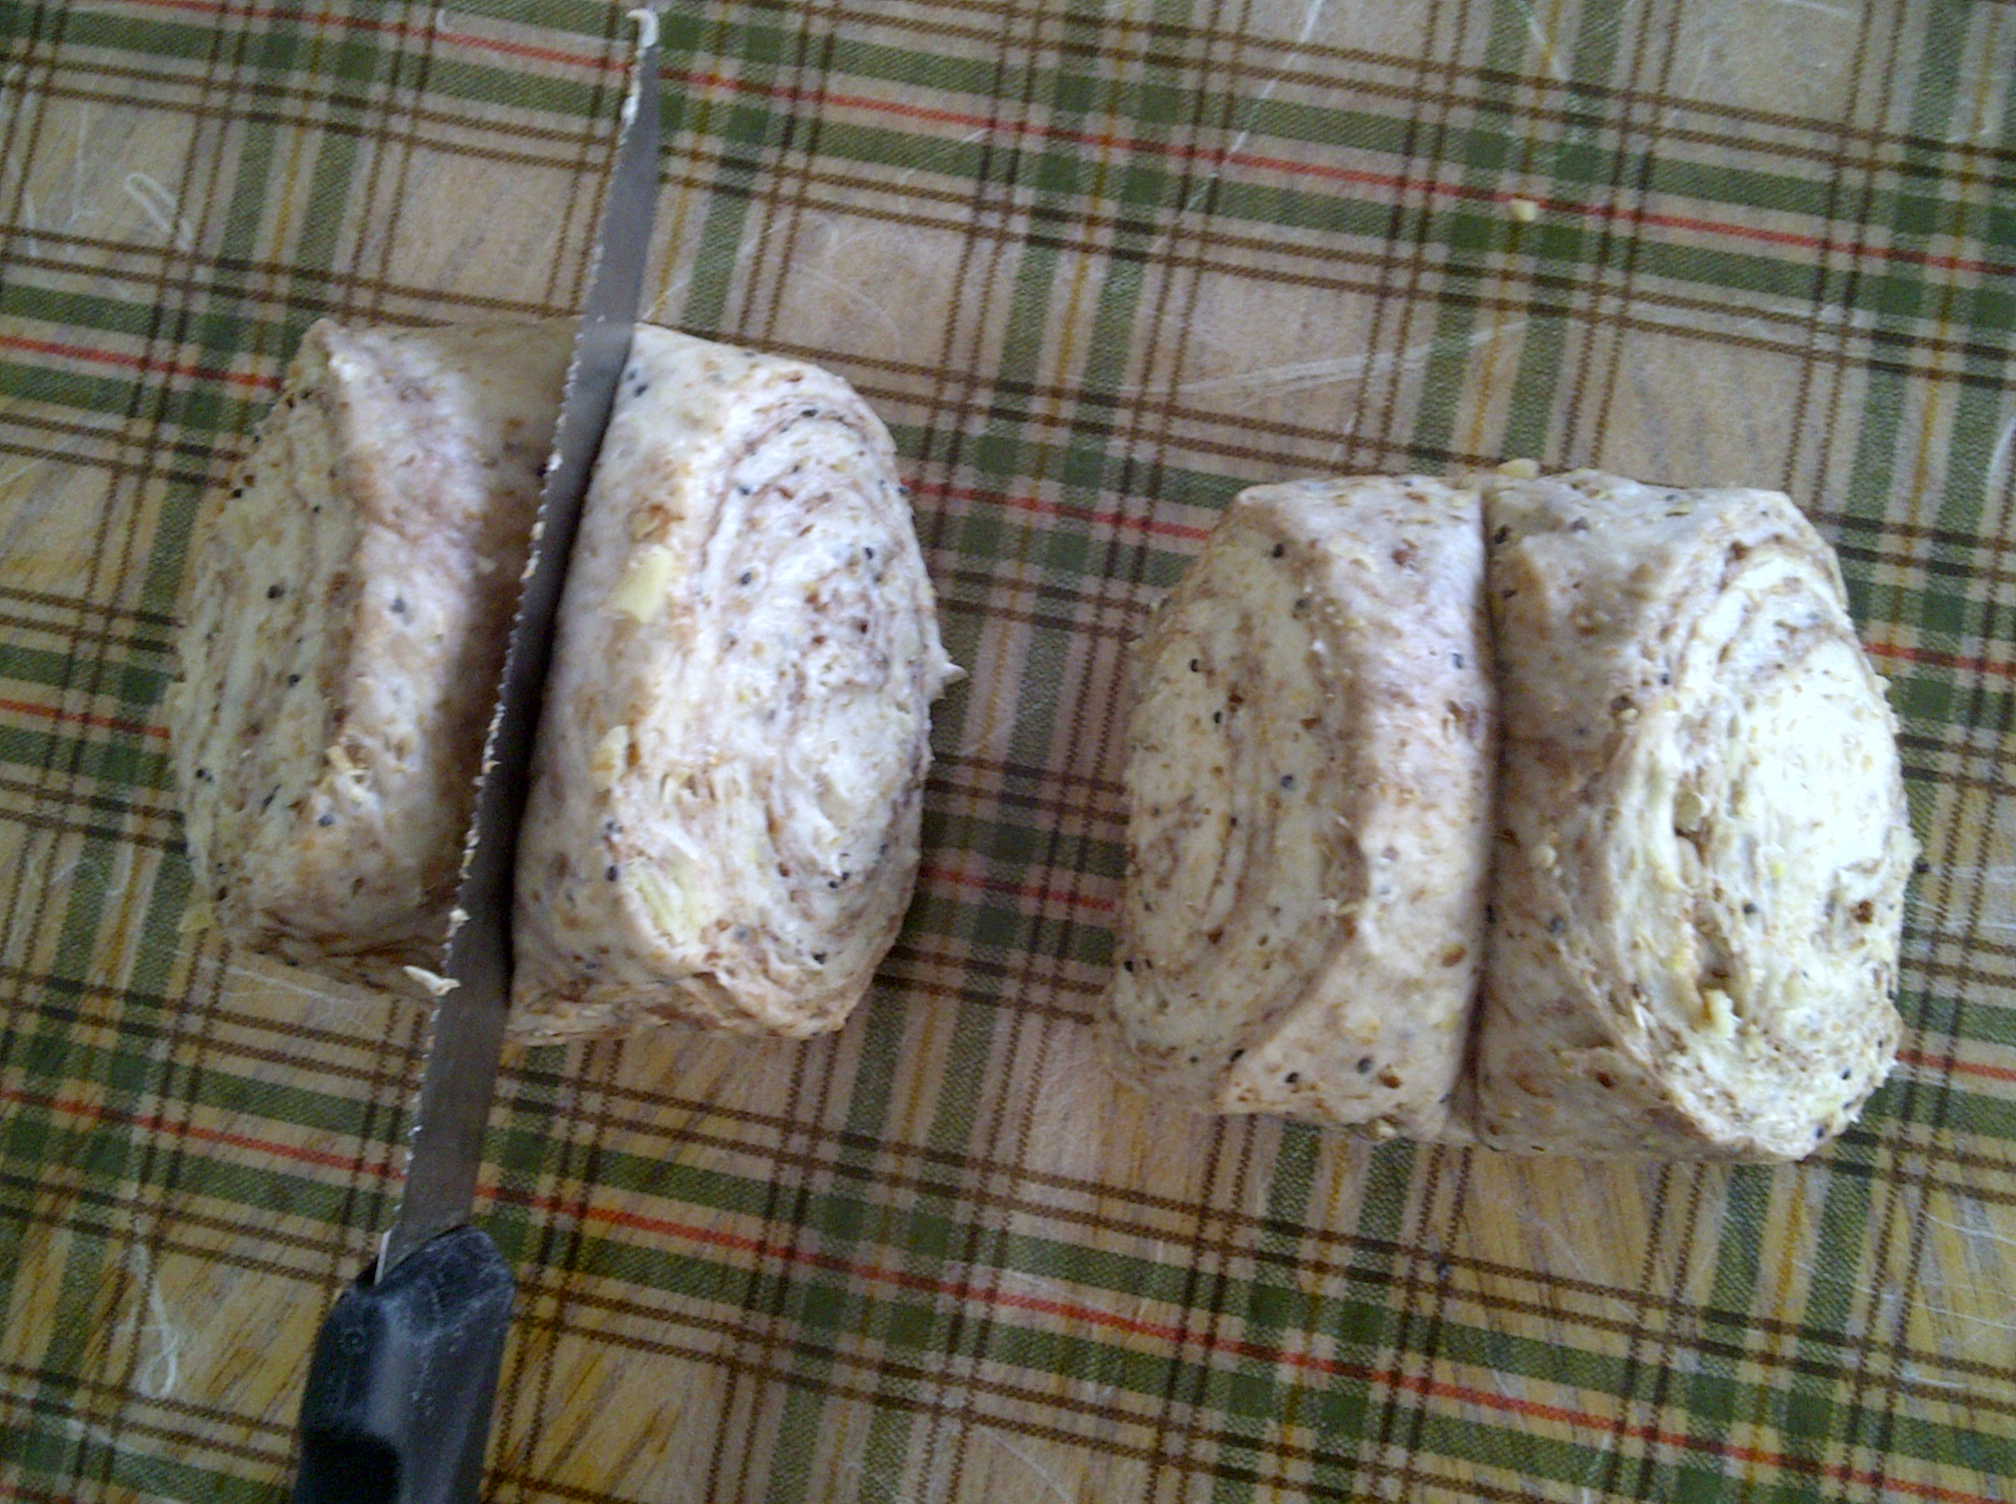
9. With the seam side down, cut 6 trapezoids out of your log. You will probably end up cutting off both ends of the log in order to do this.
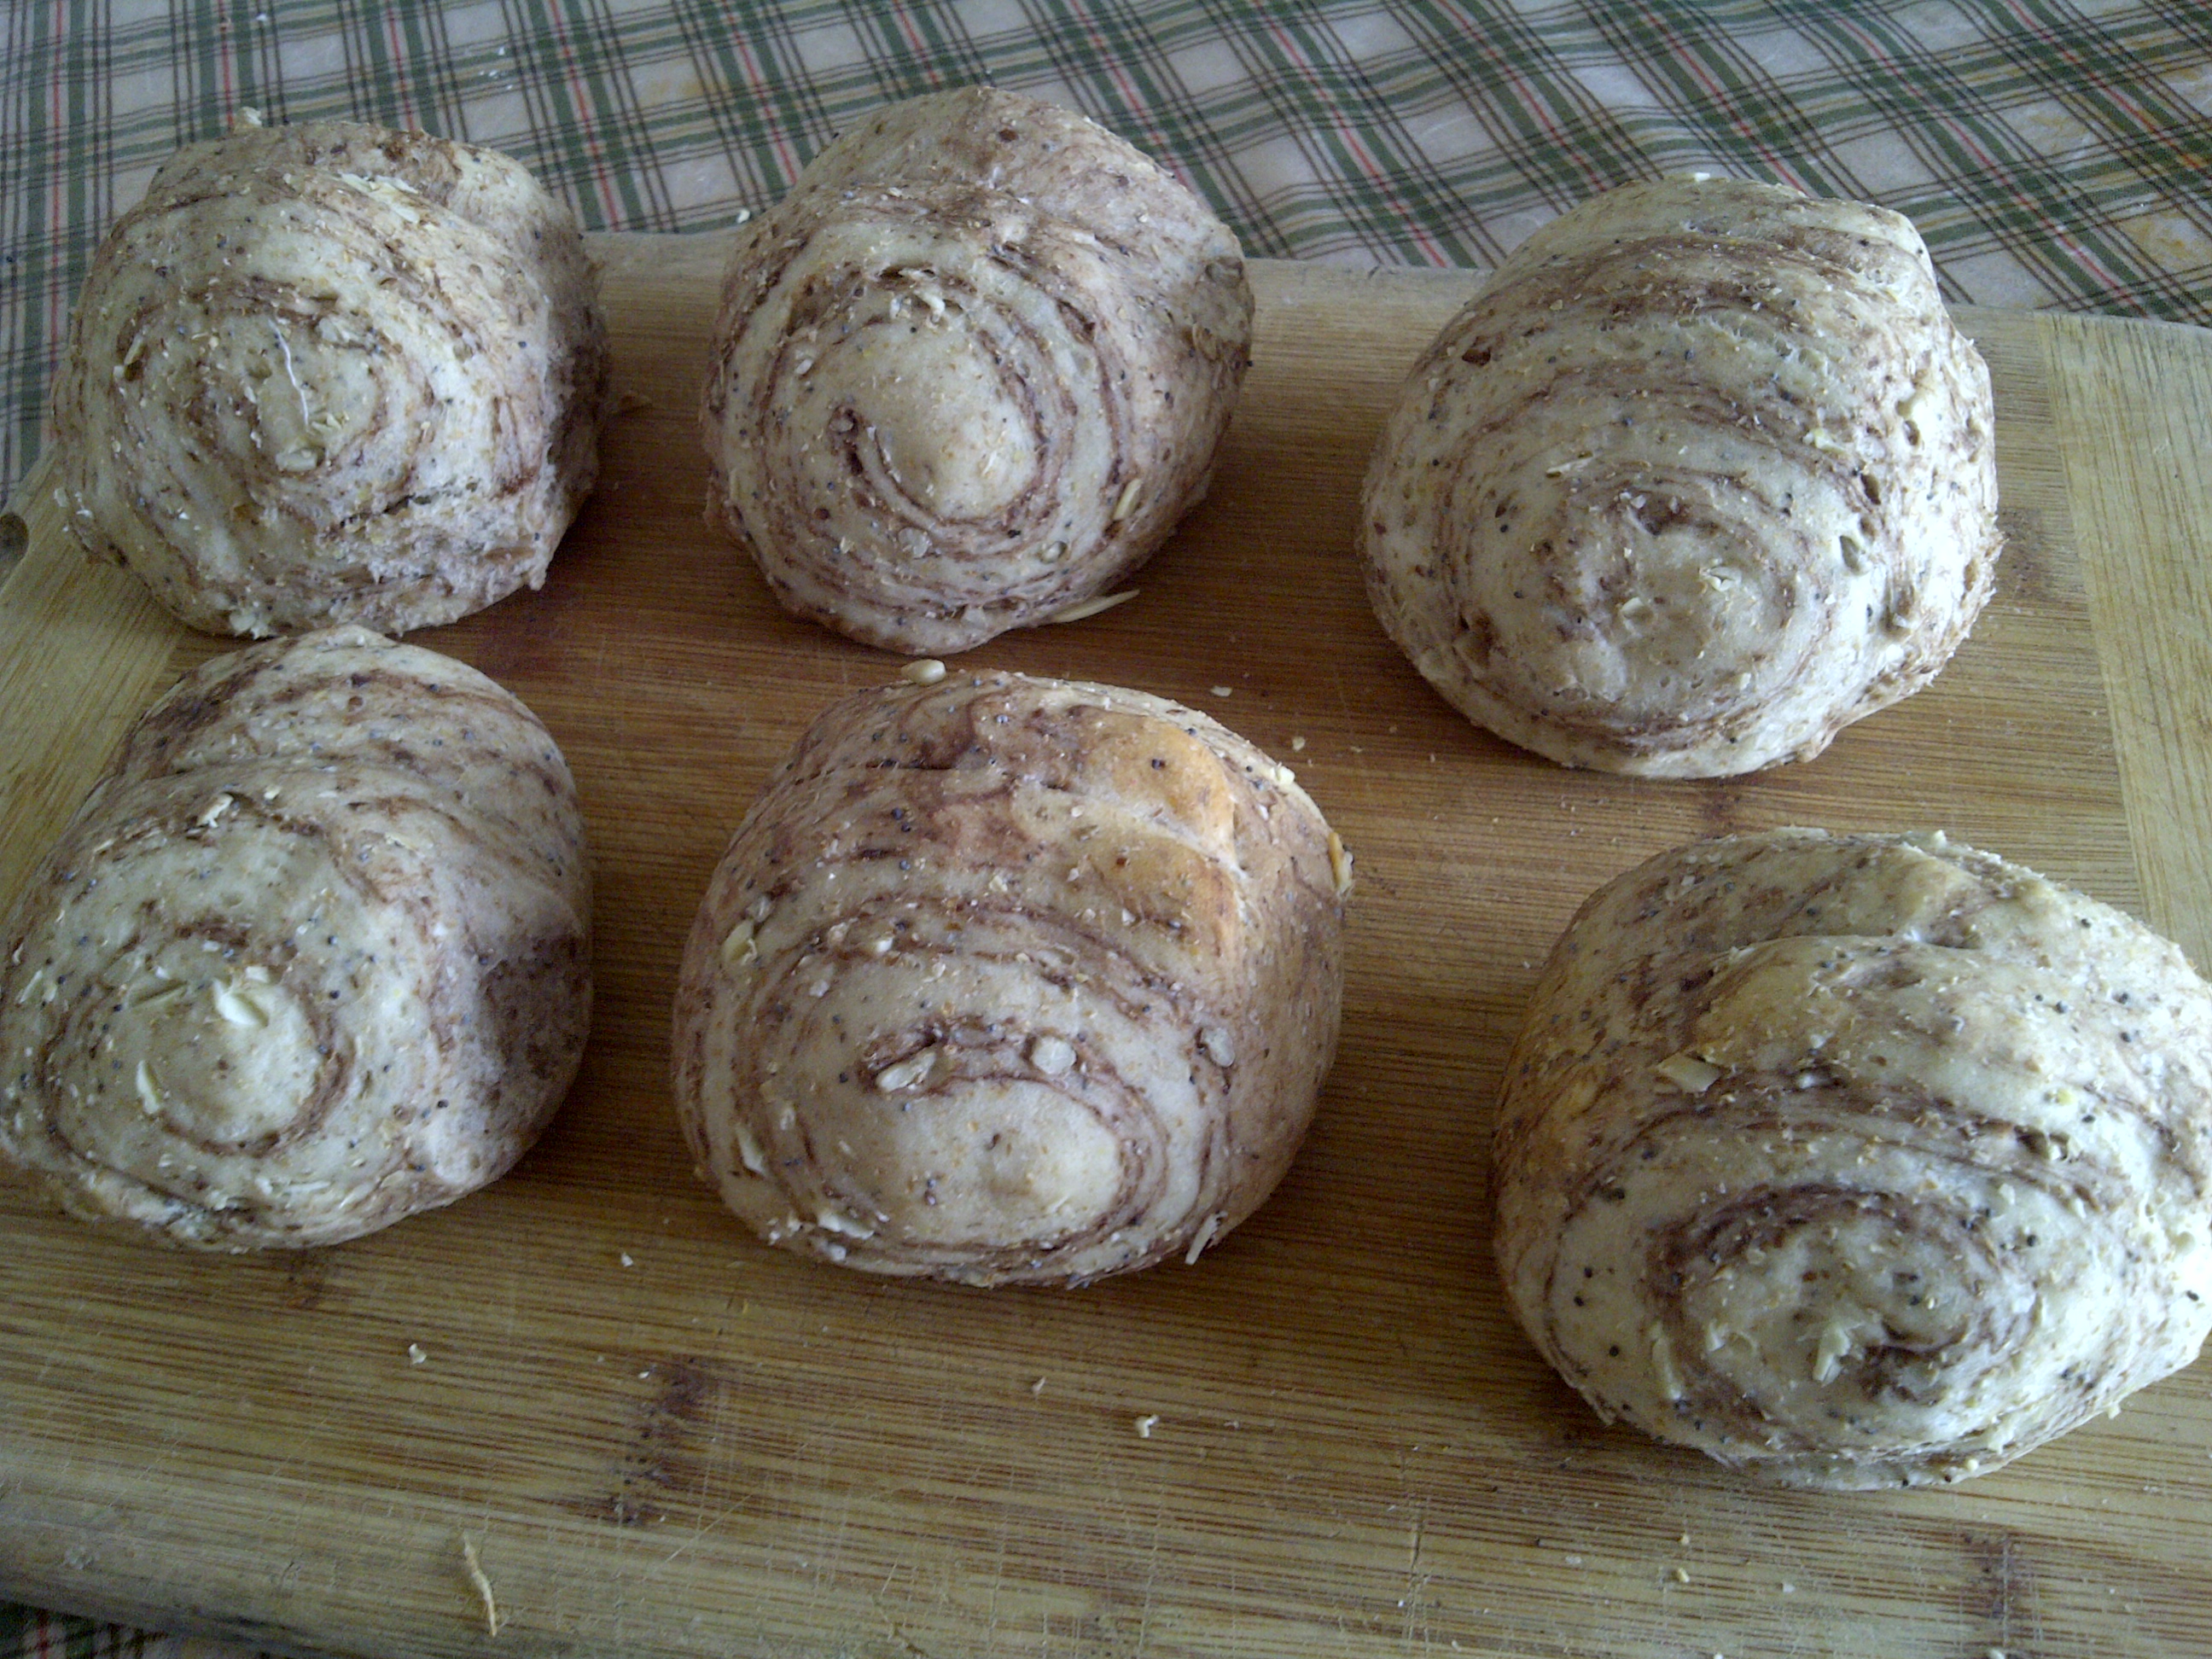
10. When you’re done, turn each roll over so that the shorter side is facing up, and thereby exposing the swirl pattern. Press the back of your knife or a chopstick down vertically in the middle of the edge. Transfer your buns onto a baking sheet and let rise covered in a warm place for 20 minutes.
11. Bake at 350F for 15 – 20 minutes until golden.
Lil’ bun and I hope that the look of these buns doesn’t scare you away from trying it for yourself because it really is a real treat to have especially when you have guests over and want to show off your baking skills. (: You don’t necessarily have to make these buns using the milk bread dough base we used if you don’t want to because it’d work with any yeast dough.
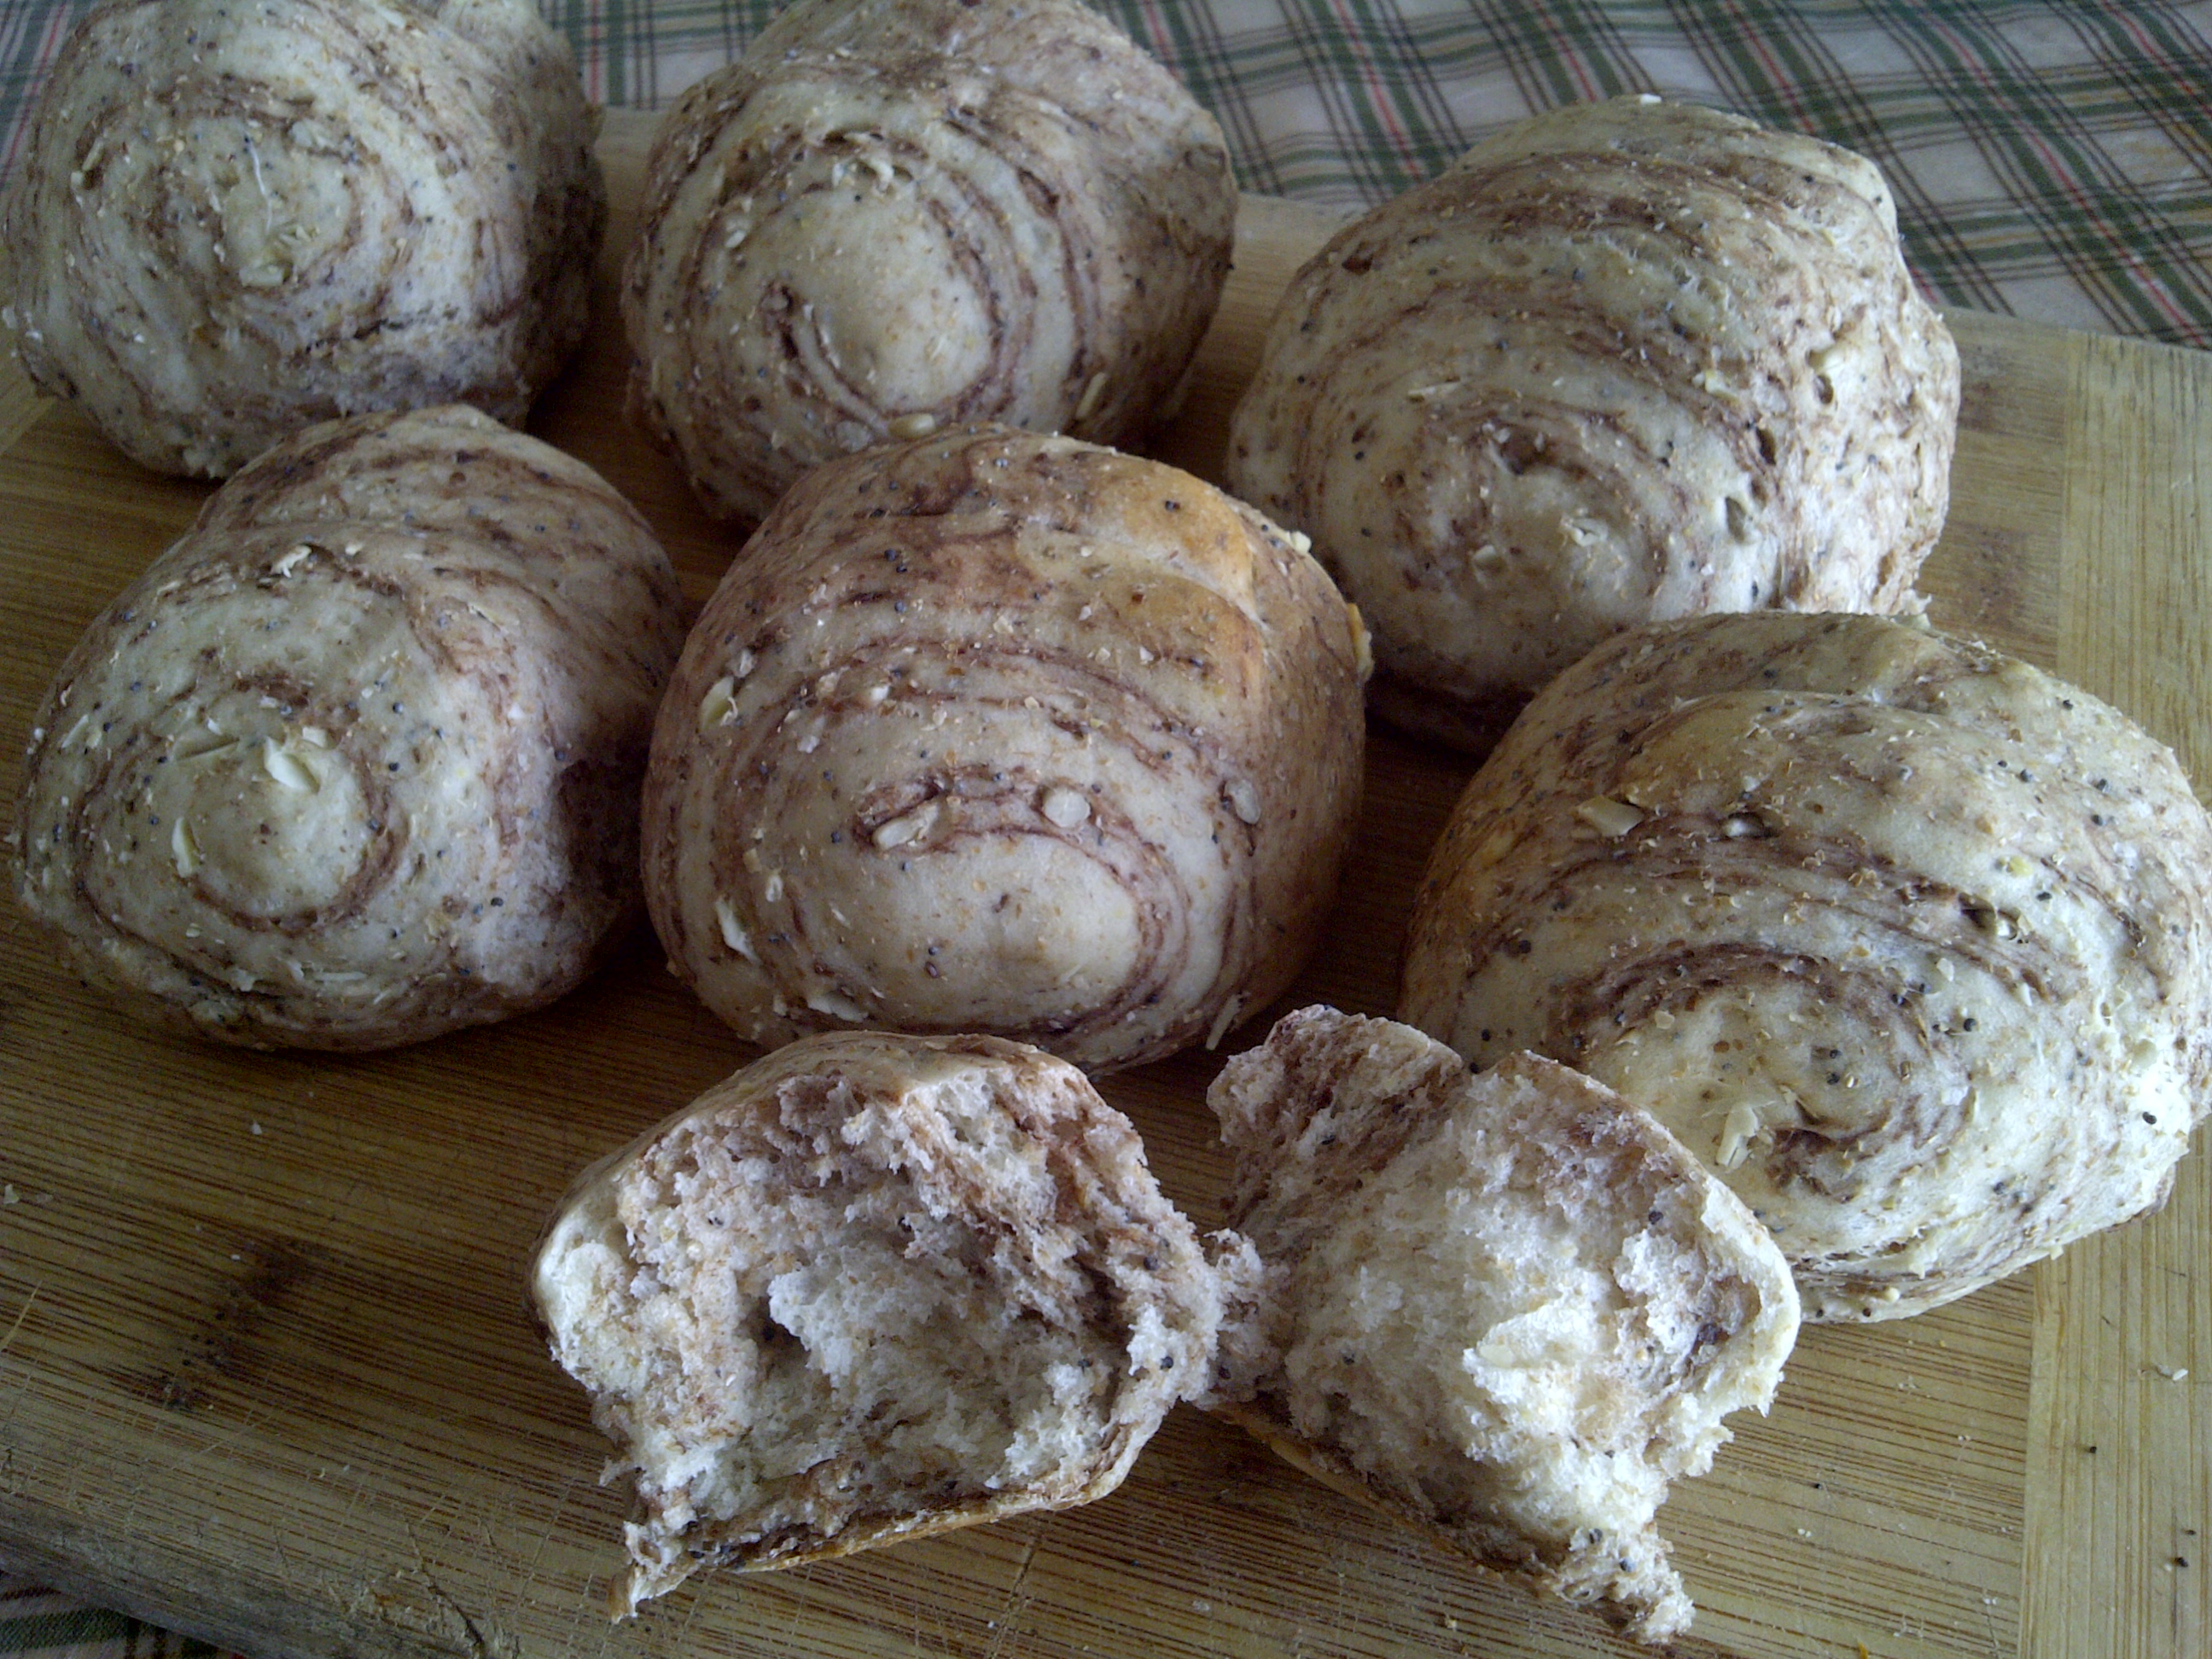
We just like using tangzhong as our “go-to” base because it makes things super soft and we like our bread that way. If you’re not a fan of chocolate you can always trade it out for matcha or even do matcha and chocolate! Just make sure that your flavoring ends up colouring your dough or you won’t achieve the colour swirled effect!